Last Updated October 7, 2023
Guitar setup doesn’t need to be complicated. Here’s the short and long versions of my 10 Step Setup Guide. This post may contain Amazon-Affiliated product links.
Short Version
- Remove old strings (string winder, string cutter)
- Clean guitar (polishing cloths, guitar body polish, guitar pick, lighter fluid)
- Tighten anything loose (pliers, needle nosed pliers, proper wrenches)
- Polish frets, smooth fret ends (fret end file, fret erasers or sandpaper, polishing pads, cymbal cleaner)
- Clean and oil fretboard (cloth, fretboard oil)
- Put on new strings (string winder, string cutter)
- Relief (truss rod hex wrench, .010 feeler gauge)
- Trem setup (Deck of cards, block of wood, screwdriver)
- Action (string action ruler, hex wrenches)
- Nut (.030 feeler gauge)
- Pickup height (string action ruler, screwdriver)
- Intonation (screwdriver)
Long Version
Let’s talk details!
- Remove old strings. Detune all strings before cutting them to avoid losing an eye. Keep track of the old strings to throw away.
- Clean guitar. Use a lint-free cloth for this, and whatever body cleaner you want. With old guitars, you might not want to use any cleaner at all – Dan Erlewine recommends just breathing on it, then wiping gently. On fretboards, the side of a guitar pick can help scrape up the dead skin and lint, and you can use Naphtha (lighter fluid) if you want. But that will dry up the wood, so don’t skip the “Oil fretboard” step.
- Tighten anything loose. Check all the jacks and screws to see if anything is loose, and tighten up anything loose. Don’t forget the tuning keys.
- Polish frets, smooth fret ends. You can use a polishing pads if you want. I like to start with StewMac fret erasers, maybe 800 grit, and move my way up to polishing pads. This will make string bending and fretting easier. Feel for any sharp fret ends, and if you find any, smooth them with the StewMac fret end file.
- Clean and oil fretboard. I like lemon oil. The point is to put on a coat to help prevent moisture from getting into the wood and making it swell up, or to prevent the opposite, where the board dries up and cracks like an old branch. Put some on, not a ton, and wipe it in, wiping off any excess. How often? Every 6 months is what most guitar maker recommend.
- Put on new strings. What brand? I like Ernie Ball, because they come individually wrapped and I don’t have to look at any stupid color chart. But any big brand is fine. Coated strings last longer but may sound a little duller at first. When you put on strings, cut the excess as you go to avoid accidentally cutting a string later. Bend the sharp ends of the strings down so you don’t get poked.
- Relief. Use a capo on the first fret, then hold down the last fret with one hand. With the other hand, use a .010 feeler gauge between the top of the 8th fret and the bottom of the string. If the feeler gauge is touching the fret top and not touching the string, put the hex key in the truss rod and tighten (turn to right) the truss rod a quarter rotation at a time until it does. If the feeler gauge is touching the fret top and pushing the string up, loosen (turn to left) until the feeler gauge is JUST touching the bottom of the string.
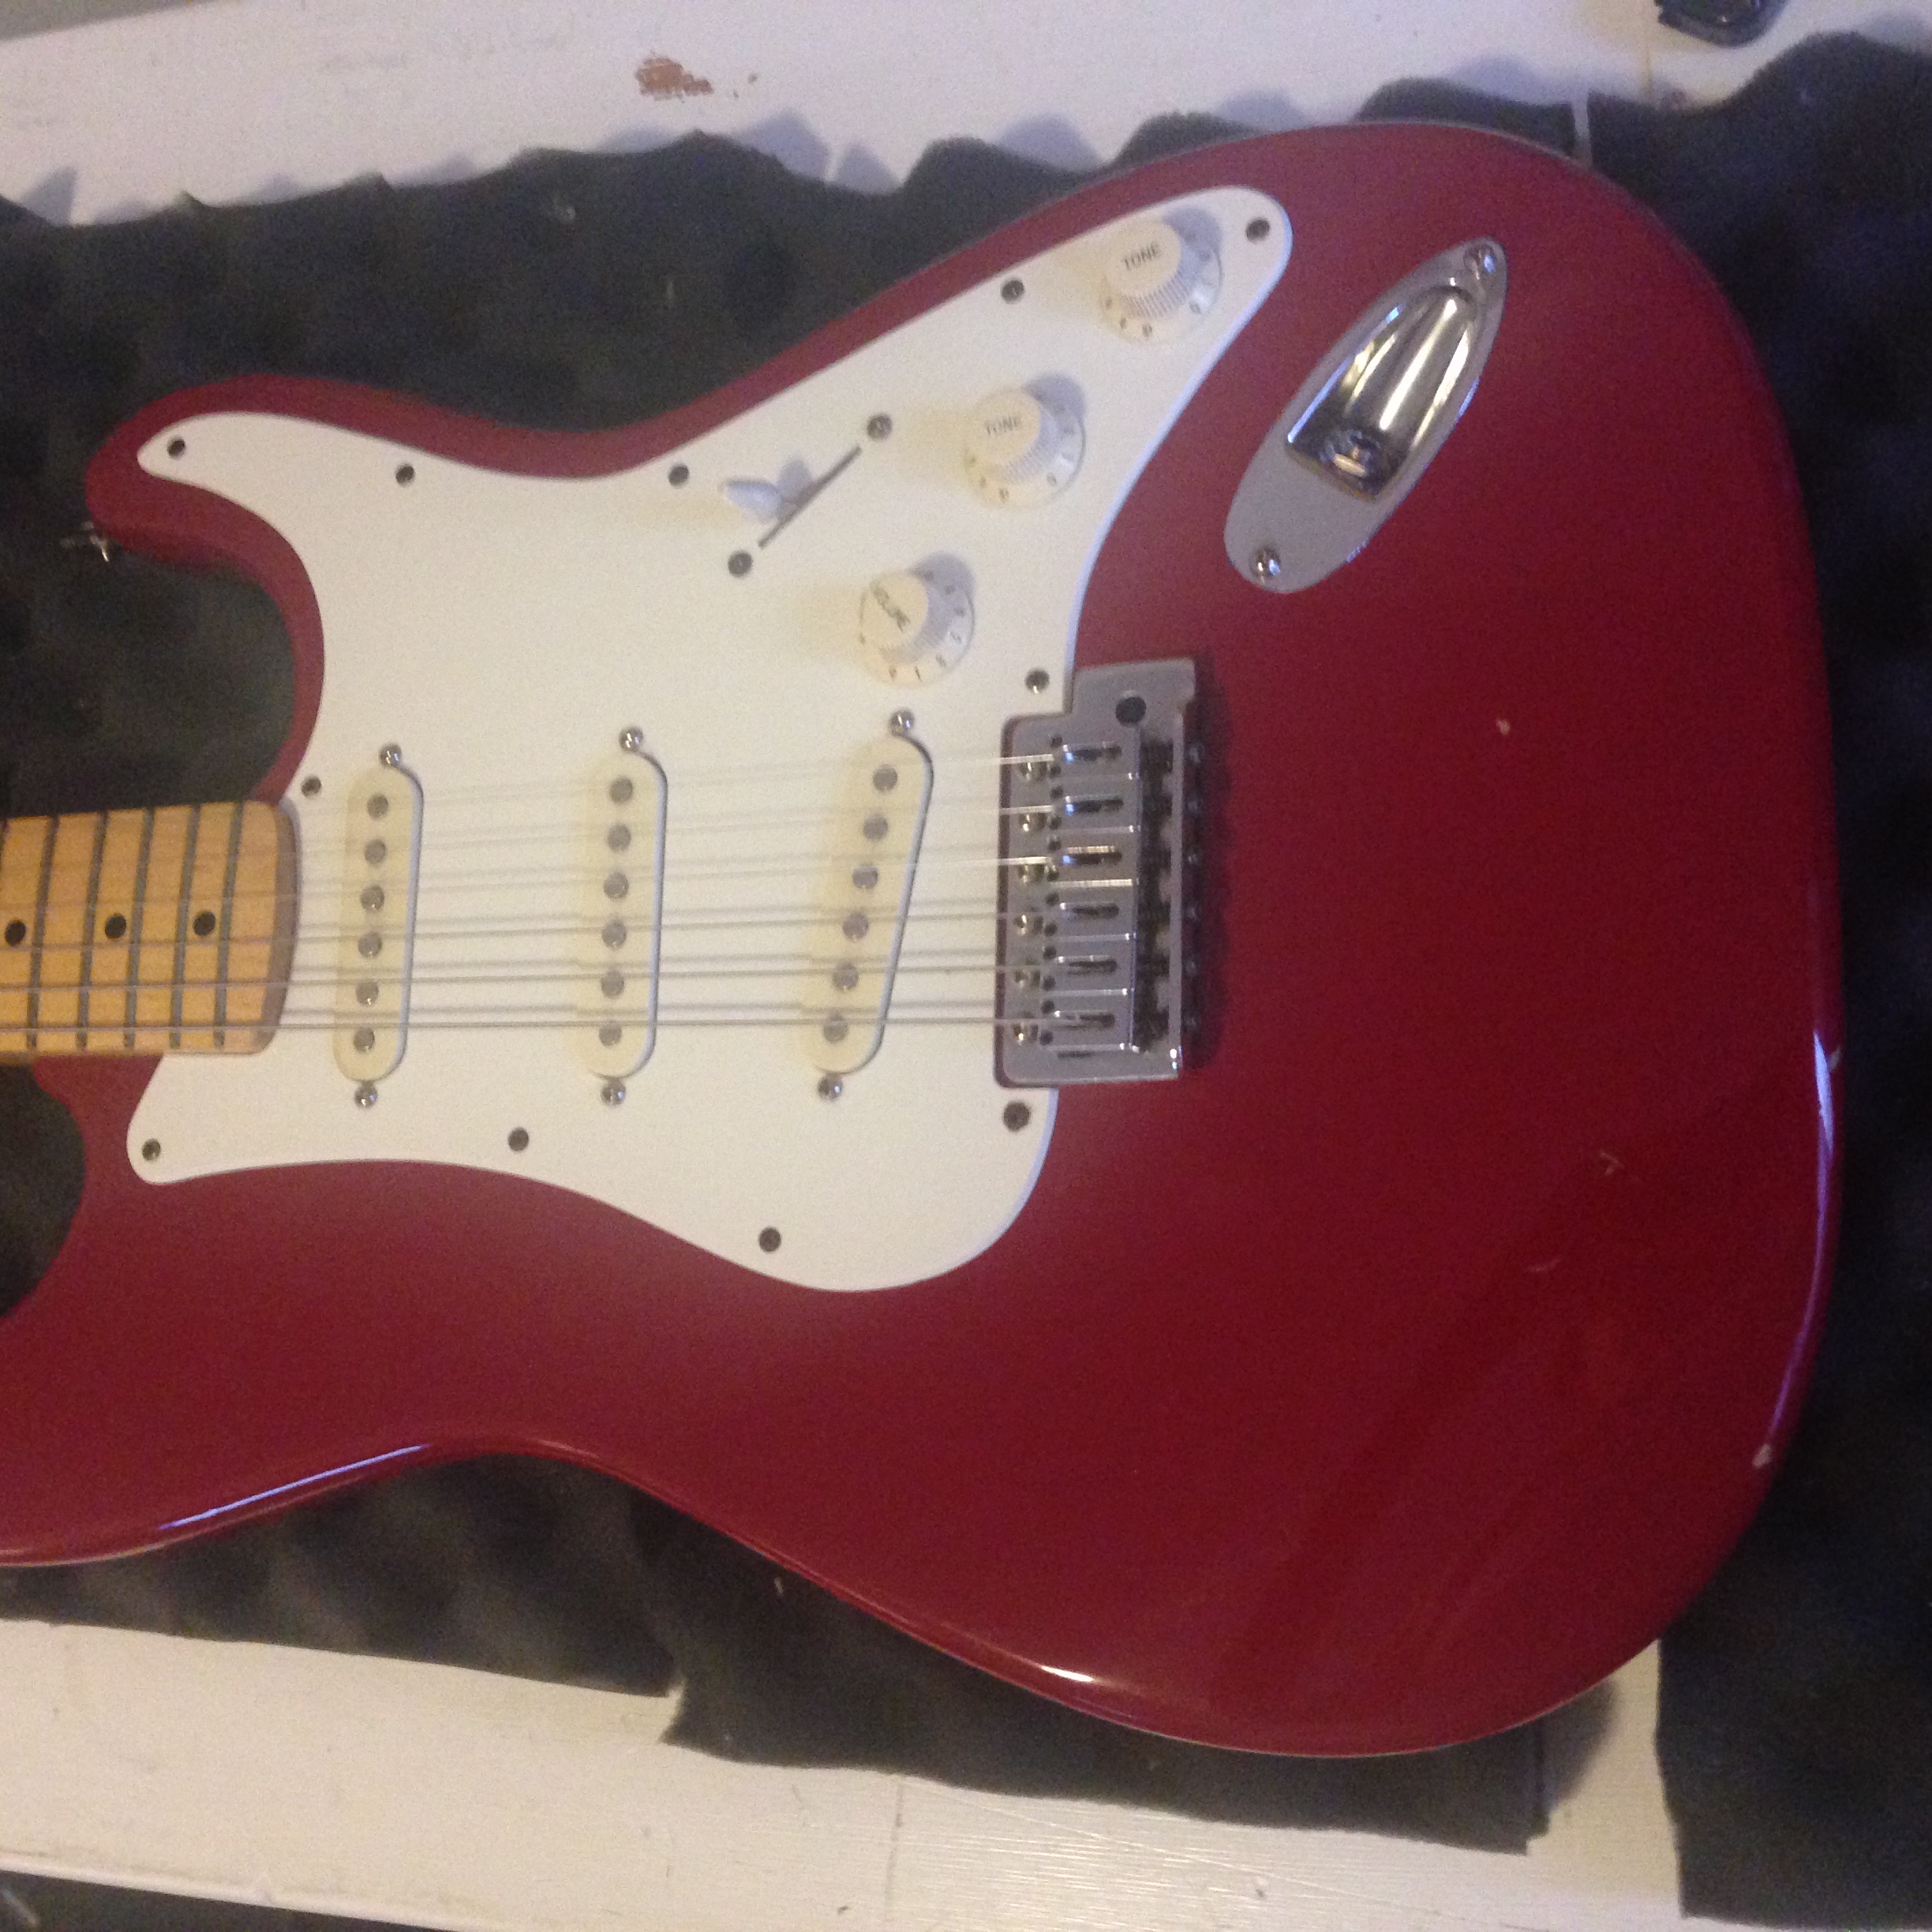
- Trem setup. If you have a tremolo/vibrato bar, now’s the time to set it up. That’s far too complicated for this list. You decide on whether to float the bridge (or not) and tighten/loosen the trem screws, but there’s an art form to this.
- Action. Use the string action chart on your string gauge guide to figure out how low to go with your strings. Lower action means more buzzing but easier to play. Again, this is a complicated process, dependent on what kind of bridge your guitar has.
- Nut. Press down on each string at the third fret. There should be a tiny distance (like a piece of paper) between the top of the first fret and the bottom of the string. If the string is touching the first fret, the nut slot is too low and you probably need a new nut. If the distance is too large, the nut slot should be cut a little deeper using a nut slot file from StewMac. It’s rounded on the bottom, just like the slot should be. A quicker easier way is to NOT fret the string and just measure the distance from the top of the first fret to the bottom of the string. If it’s around .030 of an inch, you’re good. On a trem bar guitar, put a little bit of Big Bends nut sauce in each slot.
- Pickup height. There are recommendations on pickup height with each pickup’s manufacturer on their website. Once you’ve done the research, write it down so you don’t have to keep looking it up. Too close to the string and it’ll kill your sustain. Too far away and it’ll kill your tone. Some folks adjust pickup height by ear, but I’d recommend going with the factory specs unless you really feel comfortable doing it by ear. Or if you’re lazy, 2mm is a super generic good starting point. For the middle pickup on a strat, I like it a little lower so I’m not hitting it with my pick.
- Intonation. Tune the guitar. Now, using a tuner, play the low E string open, and then play the 12th fret harmonic. Make sure the 12th fret harmonic is in tune. Then play the note at the 12th fret. It should be in tune. If it’s flat, the string is too long. Adjust the low E string saddle to move it a little bit more toward the nut. If it’s sharp, the string is too short. Adjust the saddle to move it slightly further away from the nut. Once the 12th fret harmonic and the fretted note at the 12th fret are in tune, move onto the next string. You can skip this test on an acoustic, because there’s nothing you can do about intonation due to acoustic guitar bridges being designed in the stone age.
Here’s some links to stuff I use:
- StewMac Fret End File – https://amzn.to/3T0wiep
- StewMac Three Corner File – https://amzn.to/3l8PFFv
- Baroque String Action Ruler: https://amzn.to/3I9Glqq
- Baroque String Action w/Fret Height – https://amzn.to/3ZJQsws
- Gotoh Tele Brass Compensated Saddles: https://amzn.to/3RQGZyw
- Wera guitar tool kit https://amzn.to/34Vn7XP
- StewMac Pro Digital Caliper – https://amzn.to/3teKw2n
- D’Addario Accessories Drill Bit Peg Winder – https://amzn.to/3F9uMQU


